


You might think removing a rear bumper is a task best left for the professionals, but it's not as complex as it seems. With the right tools and a bit of patience, you can do it yourself.
Here's the catch, though - while the basic steps are fairly straightforward, there are a few tricks and potential pitfalls you'll want to be aware of. Intrigued? Stick around as we reveal these nuances to help you get the job done right.
Key Takeaways:
- Begin by preparing the vehicle and wearing safety gear like gloves and safety glasses to prevent any injury.
- Identify the specific location of the bolts or screws holding the bumper in place, and disconnect them using the appropriate tool.
- Carefully remove the bumper from the vehicle, ensuring not to apply too much force to prevent any damage.
- If customizations are necessary for a new bumper, this is the time to make those adjustments before installing the replacement.
- Once the replacement bumper is ready, secure it onto the vehicle and check the tightness of the bolts or screws to ensure it is safely installed.
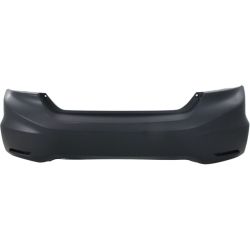
What are rear bumpers?
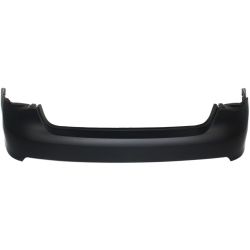
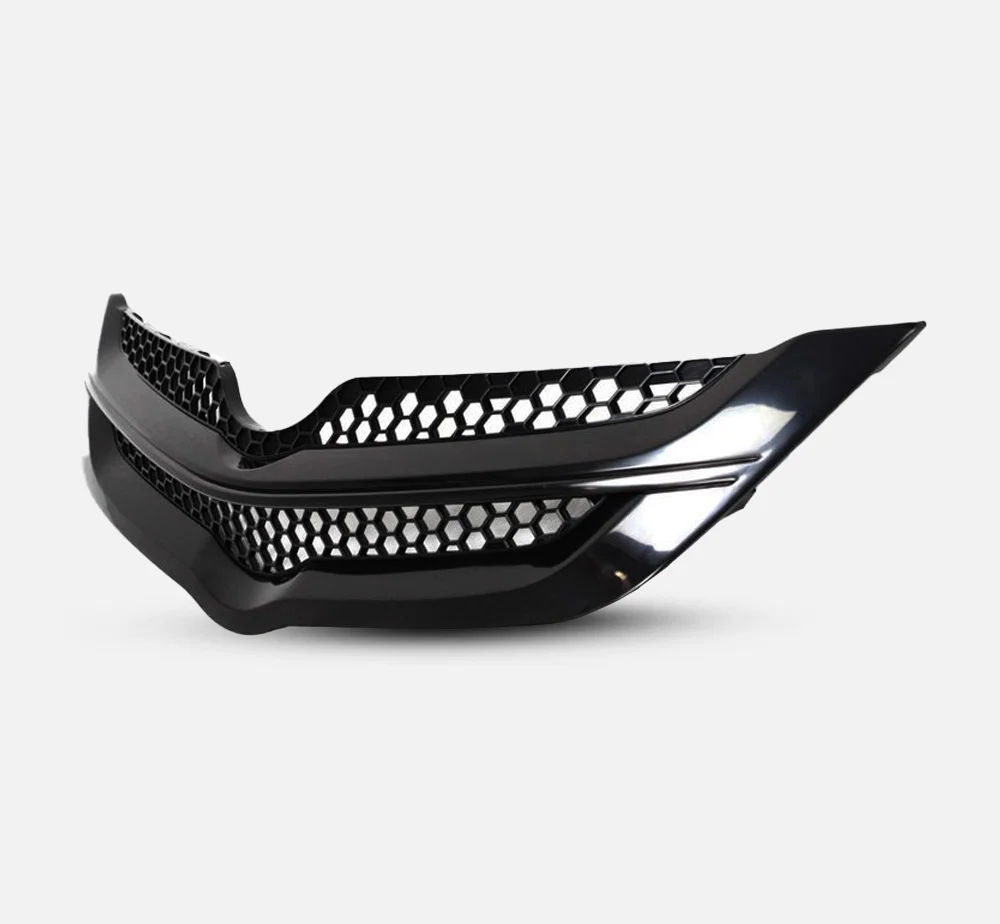
Rear bumpers, as you may know, are essential components of your car, designed to absorb impact in a collision and protect both the vehicle and passengers. They can be constructed from different materials, including plastic, fiberglass, or steel, each offering unique benefits.
Plastic bumpers are lightweight and affordable, fiberglass ones are sturdier yet still light, while steel bumpers provide the most robust protection.
And did you know that you can get custom designs? Yes, you can personalize your rear bumper to match your style and preferences. Whether you want a sleek, minimalist look or a more rugged, off-road vibe, there's a custom design out there for you. A bespoke rear bumper not only enhances your car's appearance but also its functionality and safety.

What is their main function?
While you might love the look of your custom bumper, its main function goes far beyond aesthetics. Primarily, it serves as a safety shield for both your car and its occupants. Bumper materials are expressly chosen and designed for their shock-absorbing properties.
You might be surprised to learn that bumpers are not made from solid steel, but rather a mix of materials such as plastic, fiberglass, and aluminum. These materials are renowned for their capacity for impact absorption.
They're designed to absorb the shock from a collision, reducing damage to the car's body and potentially lessening injuries to passengers. So, while a bumper may add style to your ride, remember its primary role is to keep you safe.
Type of damage that can occur
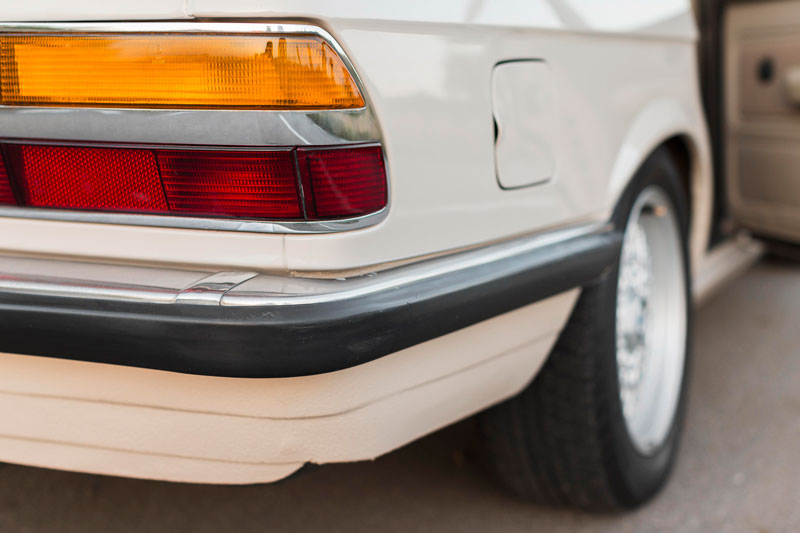
Over time, your car's bumper can sustain a variety of damages, from minor scratches and dents to severe cracking and deformation. Some common causes include low-speed collisions, parking lot bumps, or even harsh weather conditions. Repair options depend on the extent of the damage.
For minor dents and scratches, you might try a DIY approach using repair kits available in the market. However, severe damages like deep cracks and deformations often require professional intervention.
It's essential to address these damages promptly to prevent further complications. Remember, a damaged bumper not only affects your vehicle's appearance but can also compromise its safety features. So, don't ignore these issues, and choose your repair options wisely.
How to remove your rear bumper?
Ready to take off your rear bumper? Before you begin, it's important to prep your vehicle and take essential safety precautions. From there, we'll take you through the step-by-step process, ensuring you can handle this task with confidence.
Preparing the Vehicle
Before you start dismantling your rear bumper, it's important to properly prepare your vehicle to guarantee a smooth and safe process.
To begin with, clean the area thoroughly to safeguard the paint. Any dirt or debris could scratch the paint during the removal process. Use a quality car wash soap and a soft cloth to clean the bumper and its surroundings.
Now, to avoid rusting, it's vital to dry the area properly. Use a microfiber towel to absorb as much water as possible. This rust prevention step is significant especially if you live in a humid area or it's a rainy season.
Safety Precautions
Having prepared your vehicle, it's equally important to take safety precautions before you begin the process of removing your rear bumper. Your safety equipment should be non-negotiable. This includes gloves to protect your hands, safety glasses to shield your eyes and sturdy footwear to prevent any injuries from falling objects.
Conduct a risk assessment to identify potential hazards and implement measures for hazard prevention. Clear your working area of debris and make sure your vehicle is stable to prevent accidents.
Familiarize yourself with emergency procedures in case of an unexpected event. Having a fire extinguisher nearby and knowing how to use it is vital.
Step by Step Process
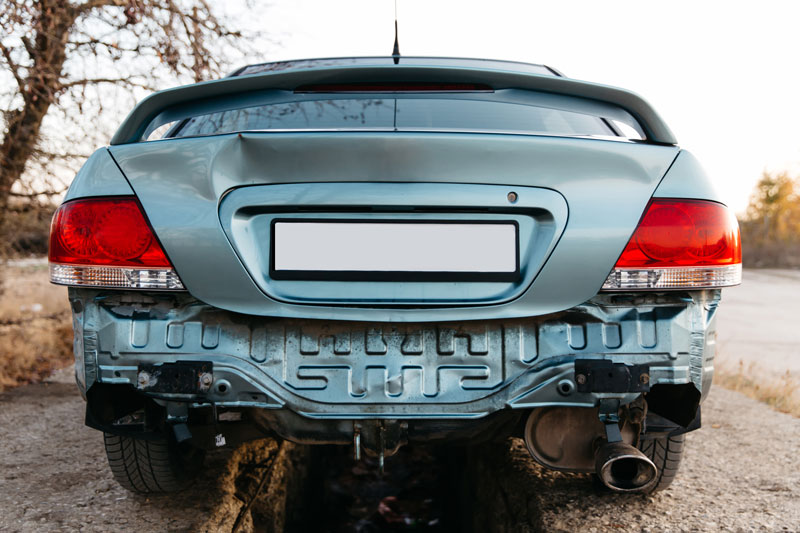
Let's explore the step-by-step process of removing your rear bumper, starting with working in the rear boot of your car. First, locate the plastic trim covering the bumper bolts. Unscrew the small screws holding the trim and pry it off with a flat head screwdriver.
This is an important part of bumper maintenance. Next, slide under the car and disconnect bolts from the wheel arches. You'll also need to remove screws and pop out plastic rivets. This is where car customization comes into play, as you're preparing to remove and possibly replace your bumper.
Finally, secure the bumper with the help of a friend. Align the bolt holes, reattach using a spanner, and make sure the bumper is firmly attached. Don't forget to put the screws back under the wheel arches and reattach the plastic rivets. Check the tightness of all screws to complete the process.
Can you DIY or do you need Professional Help?
While it may seem intimidating, you can indeed opt for a DIY approach to removing a rear bumper, provided you're comfortable with using basic tools and following the step-by-step procedure outlined above.
However, before jumping into a DIY repair, consider the following:
- Time Investment: Depending on your skill level, a DIY repair could take longer than expected. Make sure you're willing to invest the necessary time.
- Cost Comparison: While hiring professional help may cost more upfront, mistakes in a DIY repair could lead to more expensive fixes down the road.
- Risk Assessment: If you're uncomfortable with the task, seeking professional help may be safer and more efficient.
Ultimately, the choice between DIY and professional help depends on your confidence, skill level, and willingness to commit time and effort.
Conclusion
Simply put, removing a rear bumper isn't rocket science. You just need to unscrew the bolts and voila - it's off. However, if you're not a handyman or don't feel confident about the process, getting professional help is the way to go. Remember, it's better to be safe than sorry.
So, don't bite off more than you can chew - make sure you're comfortable with the task before diving in.
FAQs (Frequently Asked Questions)
What Tools Are Required to Remove a Rear Bumper?
- You'll need a flat head screwdriver, spanner, and a friend's help. Consider the bumper material's impact on the difficulty of removal. Also, explore aftermarket bumper options for easier installment and removal in the future.
How Long Does It Typically Take to Remove a Rear Bumper?
- Depending on bumper materials and your efficiency techniques, it typically takes an hour or two to remove a rear bumper. You'll speed up the process with organization and the right tools at hand.
What Safety Precautions Should I Take When Removing a Rear Bumper?
- Aren't safety measures crucial? Always wear Personal Protective Equipment, such as gloves and safety glasses. Have emergency measures like a first aid kit nearby. Don't forget, removing any car parts can be risky without precautions.